

Jingle Bell Rock mittens
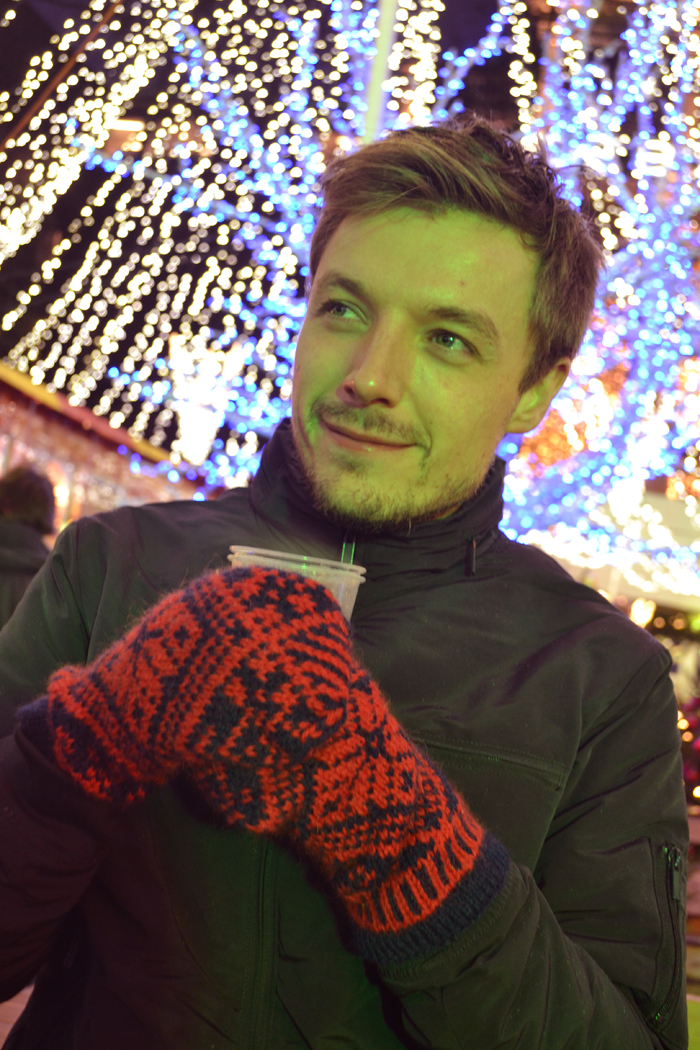
It’s Christmas Eve and 2013 has almost come to an end. I’ll finish the year in style, with a warm, winterish – and a little Christmassy – pattern for woolen mittens. Just like the ‘Jewel shawl’, these mittens are knitted with two colours using the fair isle technique. (I’m excited to see how many non-knitters have learned more about knitting in the past couple of months <:o))
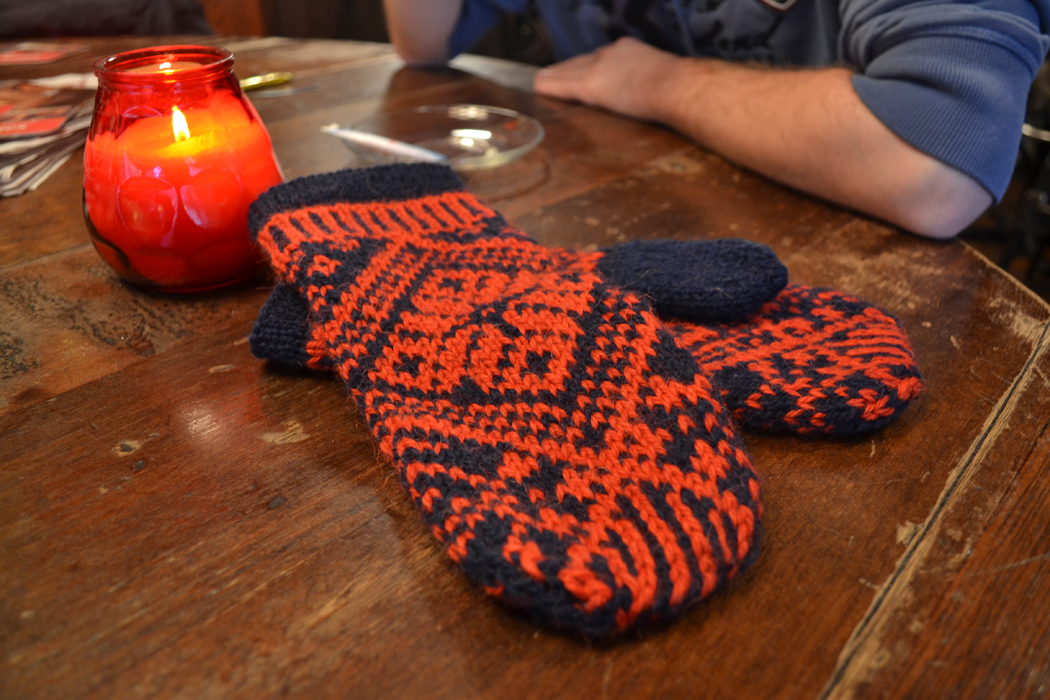
This pattern is suitable for the more advanced knitter, but don’t hesitate if you don’t know the techniques yet. You must have all the time in the world right now, it’s the holidays after all. Take a deep breath and start at the beginning…
Boord
Cast on 48 provisional stitches on a circular needle size 3,5 mm. To make the provisional cast on you’ll use a piece of scrap yarn in a contrasting color and a small crochet hook. Crochet the stitches around the knitting needle, in the way shown in the instruction video so you can pull out the scrap yarn and you’ll end up with live stitches. These are stitches that aren’t cast off, so you can start knitting them.
Using the main colour yarn (blue in this case) knit 5 or 6 rows, then purl one row, then knit another 5 or 6 rows. Fold your work at the purl row. Pull out the scrap yarn one stitch at a time and knit every stitch together with the opposite stitch on the knitting needle. This way you’ll get a solid edge on your mittens, that’s still pretty stretchy.
Diagram
Now start knitting on a circular needle, size 5 mm. Work with one colour in your left hand and the other colour in your right hand . It doesn’t really matter which color is in which hand. Keep in mind that you’ll have to carry the second colour, with you, if you knit more than three stitches in the same color in a row.Otherwise the unknitted yarn forms long loops and you’re guaranteed of your fingers getting stuck in them!
The diagram of both the front and the back of the mitten are the same. Also the left and right mitten are almost identical; except for the thumb that’s placed on different sides. The stitches between the vertical lines are equal; you only have to knit them once on both sides.
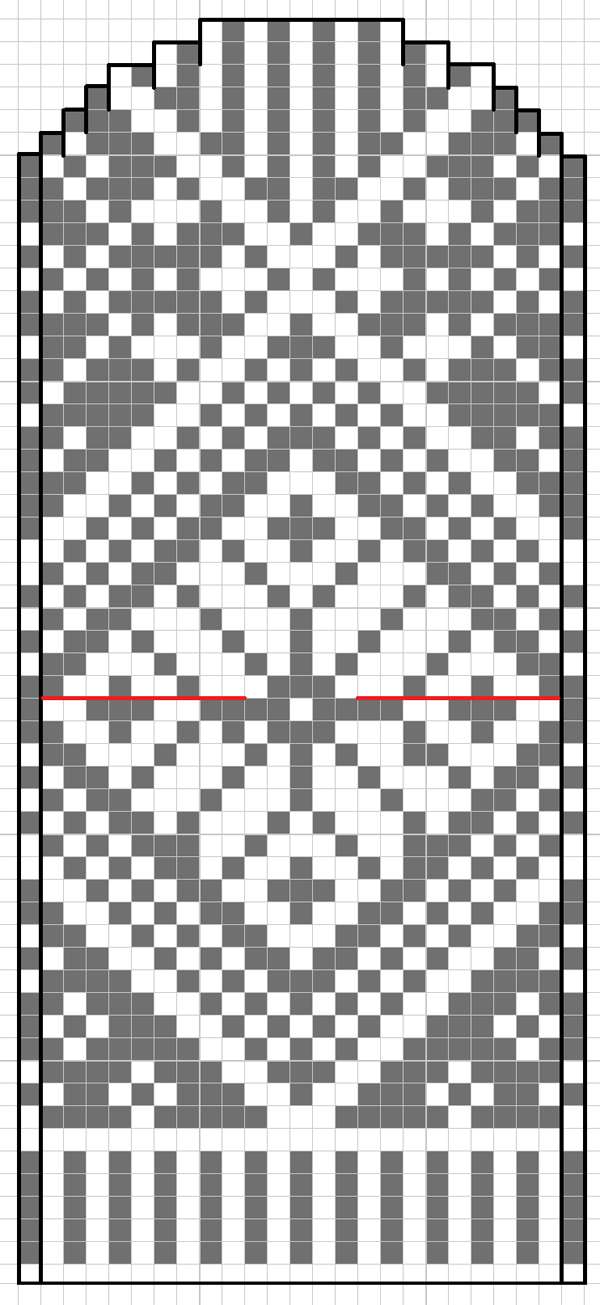
Knit according to the diagram until you reach the red line. This is the height where you’ll place the thumb,later on. Put 9 stitches from the side onto a big safety pin or a piece of scrap yarn. With the first mitten, you can choose from which side to place the thumb on, as long as you’ll pick the other side when knitting the other mitten.
Knit until you reach the stitches you put aside. Cast on 9 stitches on your left knitting needle, to bridge the gap between the live stitches. You can choose different methods to do this. One way is to simply turn loops onto your needle. This wouldn’t be my choice in this case, because the loops can clamp tightly around the cable of your needle and are difficult to knit. I’d rather use more solid cast on, like the ‘cable cast on’ or the ‘knit cast on’.
Knit according to the diagram from the red line up. The last six rows you’ll have to decrease on both sides. At the front and the back, 9 stitches will remain. You can graft those together, nicely, using the ‘kitchener stitch’.
Thumb
Transfer the 9 stitches from the safety pin onto the circular needle. Pick up 13 (2 + 9 + 2) more stitches around the thumb hole with the main color. You’ll now have a total of 22 stitches on your needle. Knit 15 rows, using two strands of yarn in the main color. By using two strands of yarn , the thumb be just as thick as the rest of the mitten. Decrease by 5 stitches every needle for the next 3 rows. Cut the threads and pull them through the remaining stitches using a darning needle. Finally, tie off all loose ends.


This pattern is available on Ravelry.
Thanks all for following my blog; I’m very happy with all of your sweet feedback. I wish you a happy holiday and a healthy 2014. See you next year!
(Model: Dominik)